
Hi my imaginary reader,
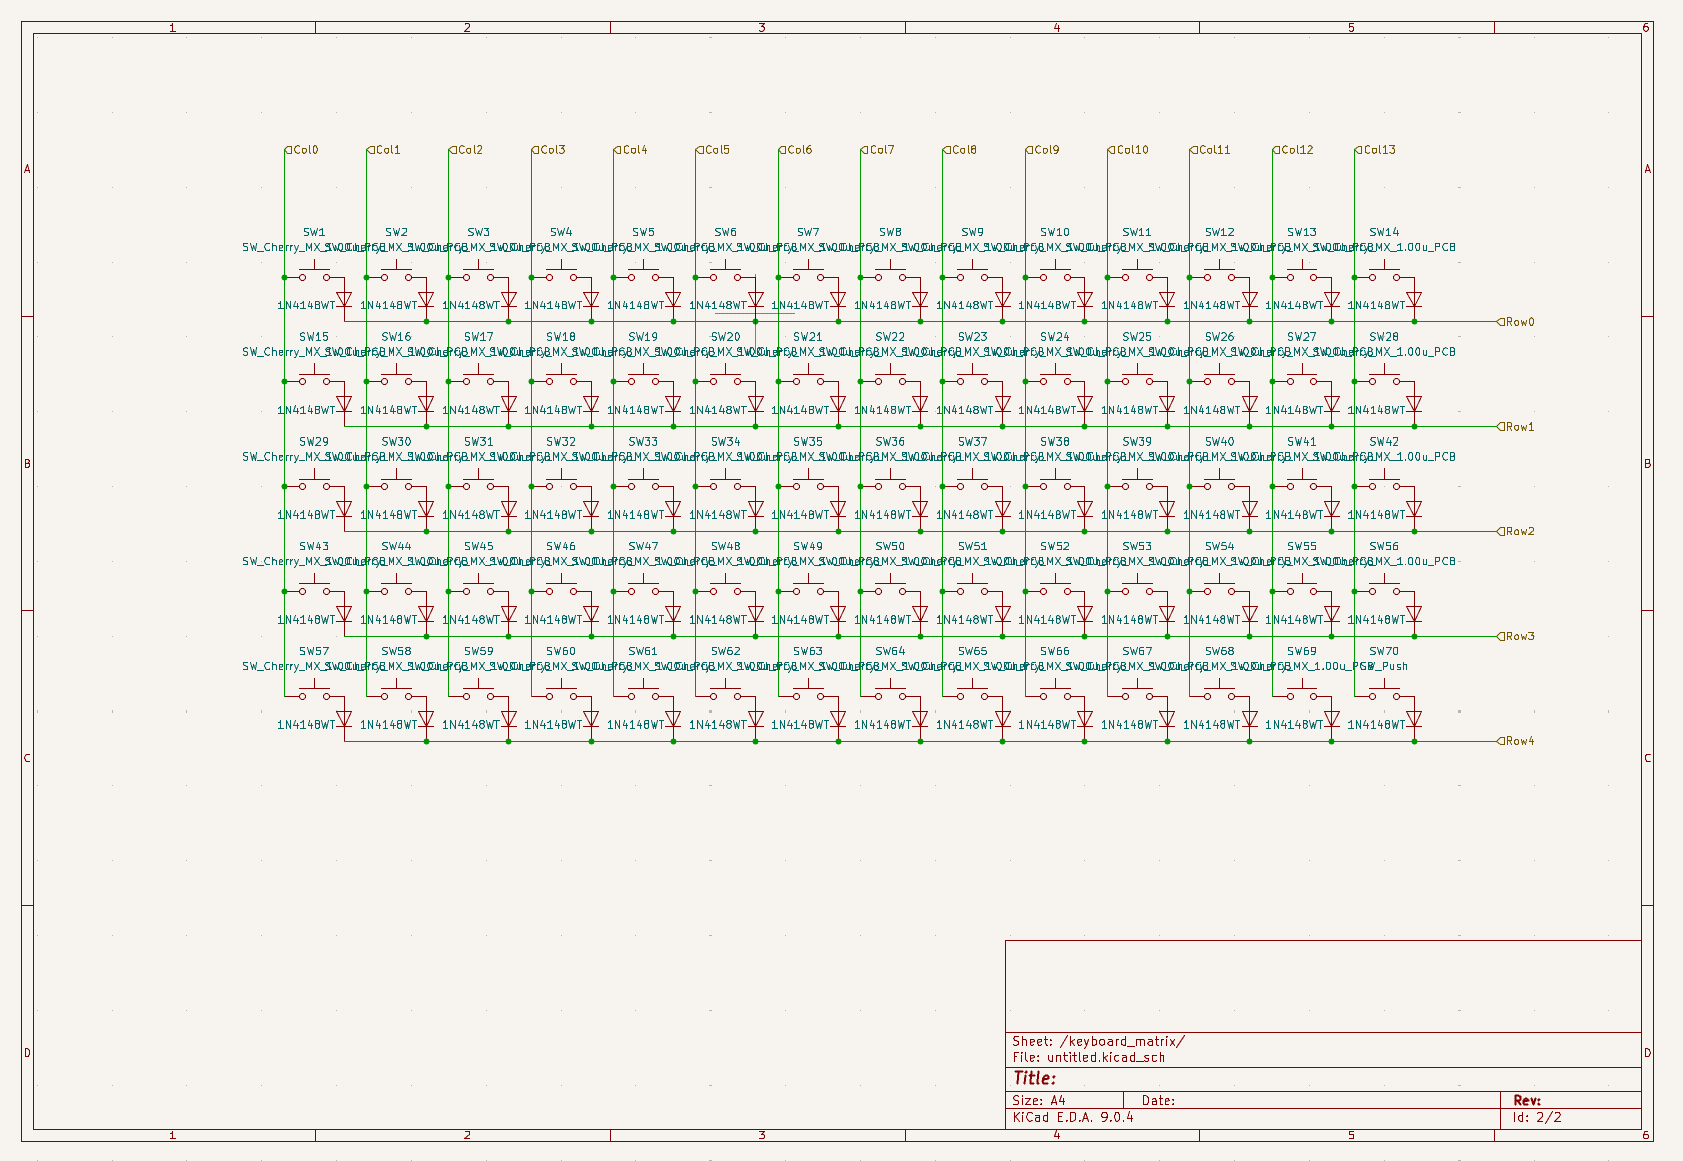
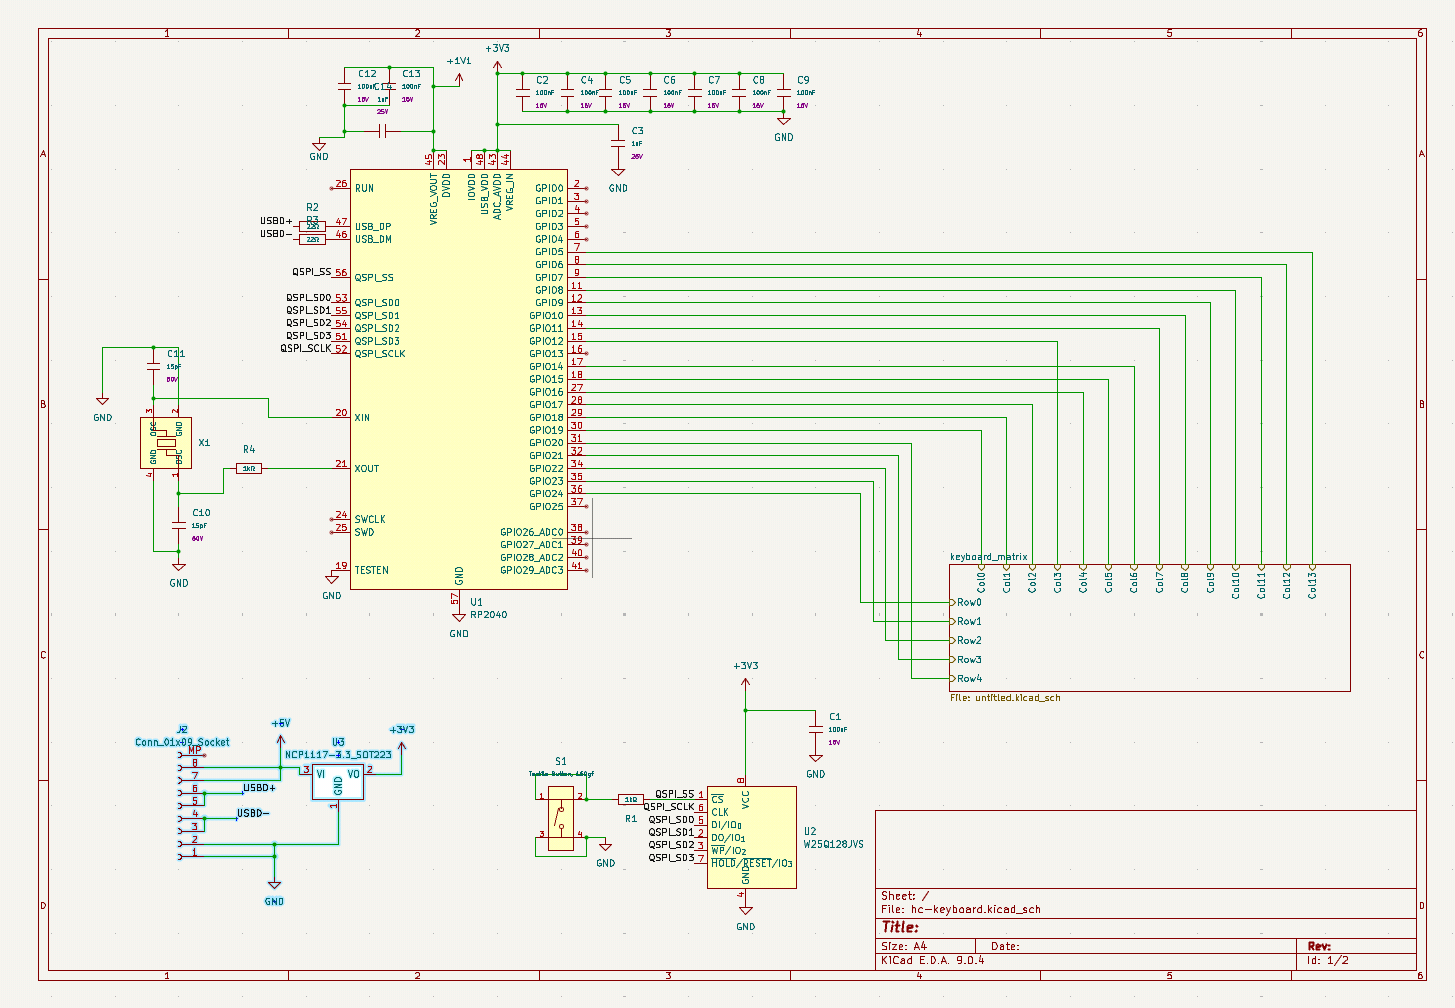
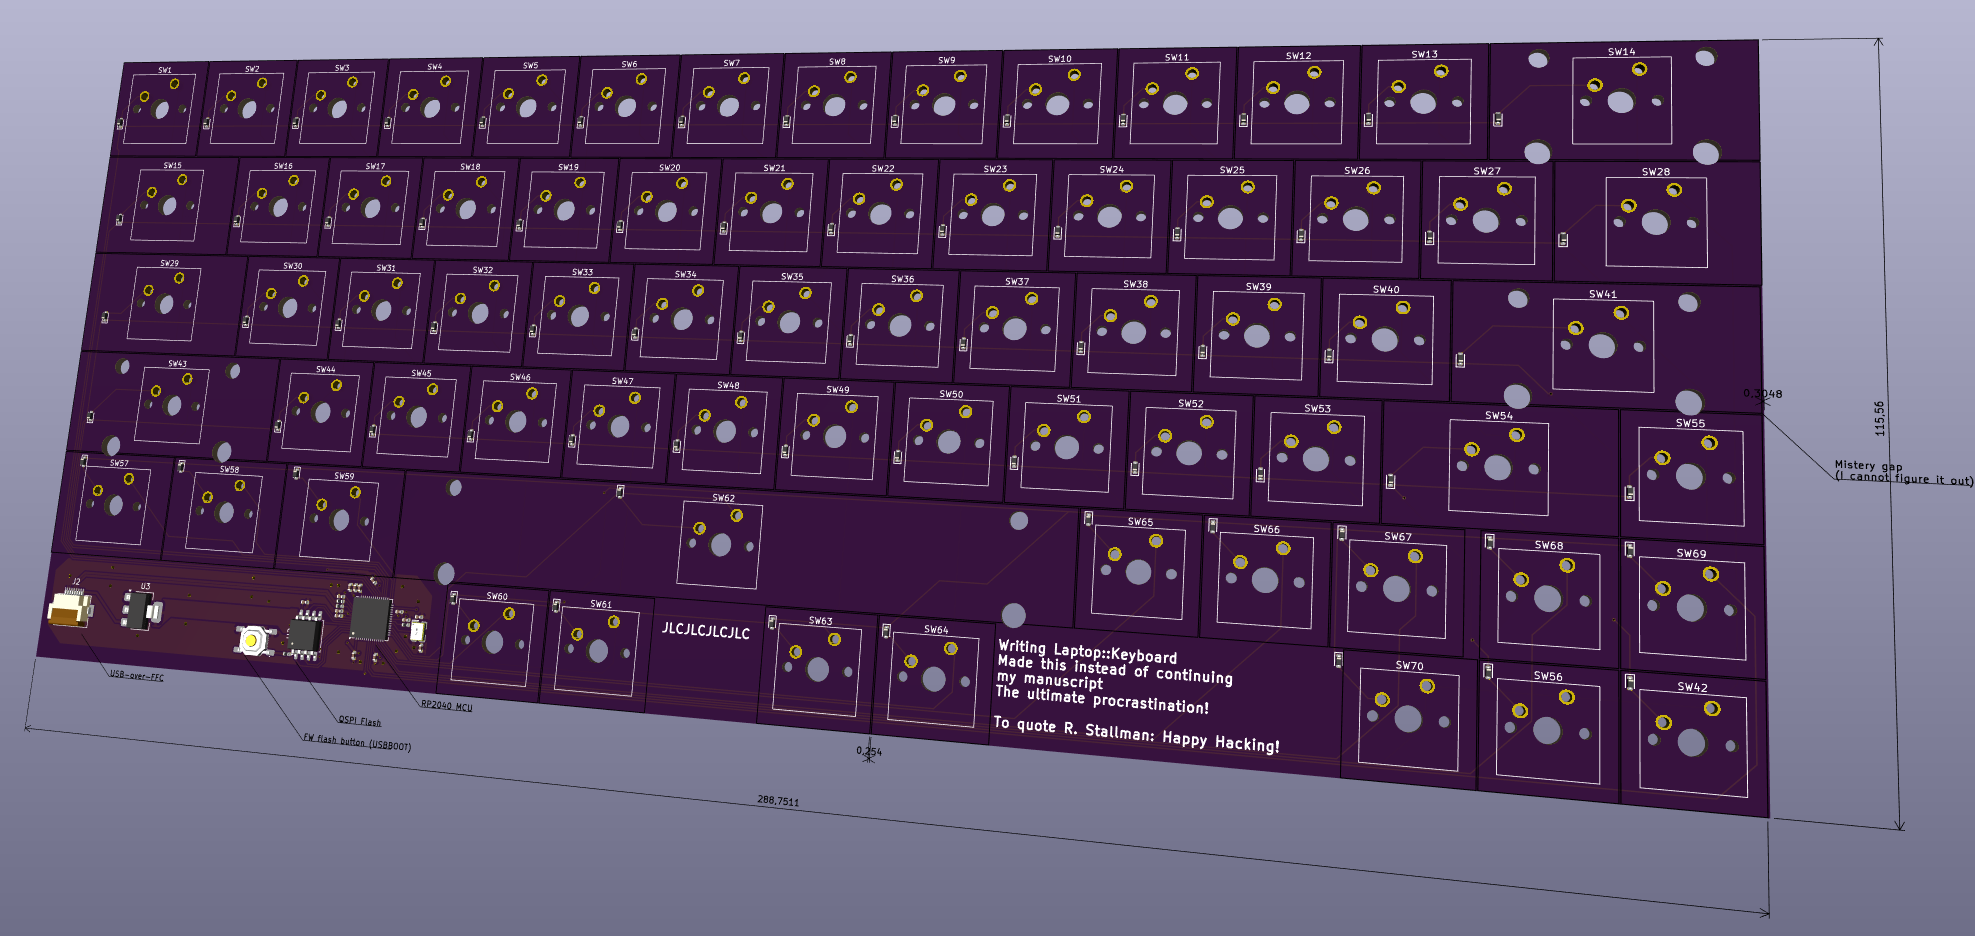
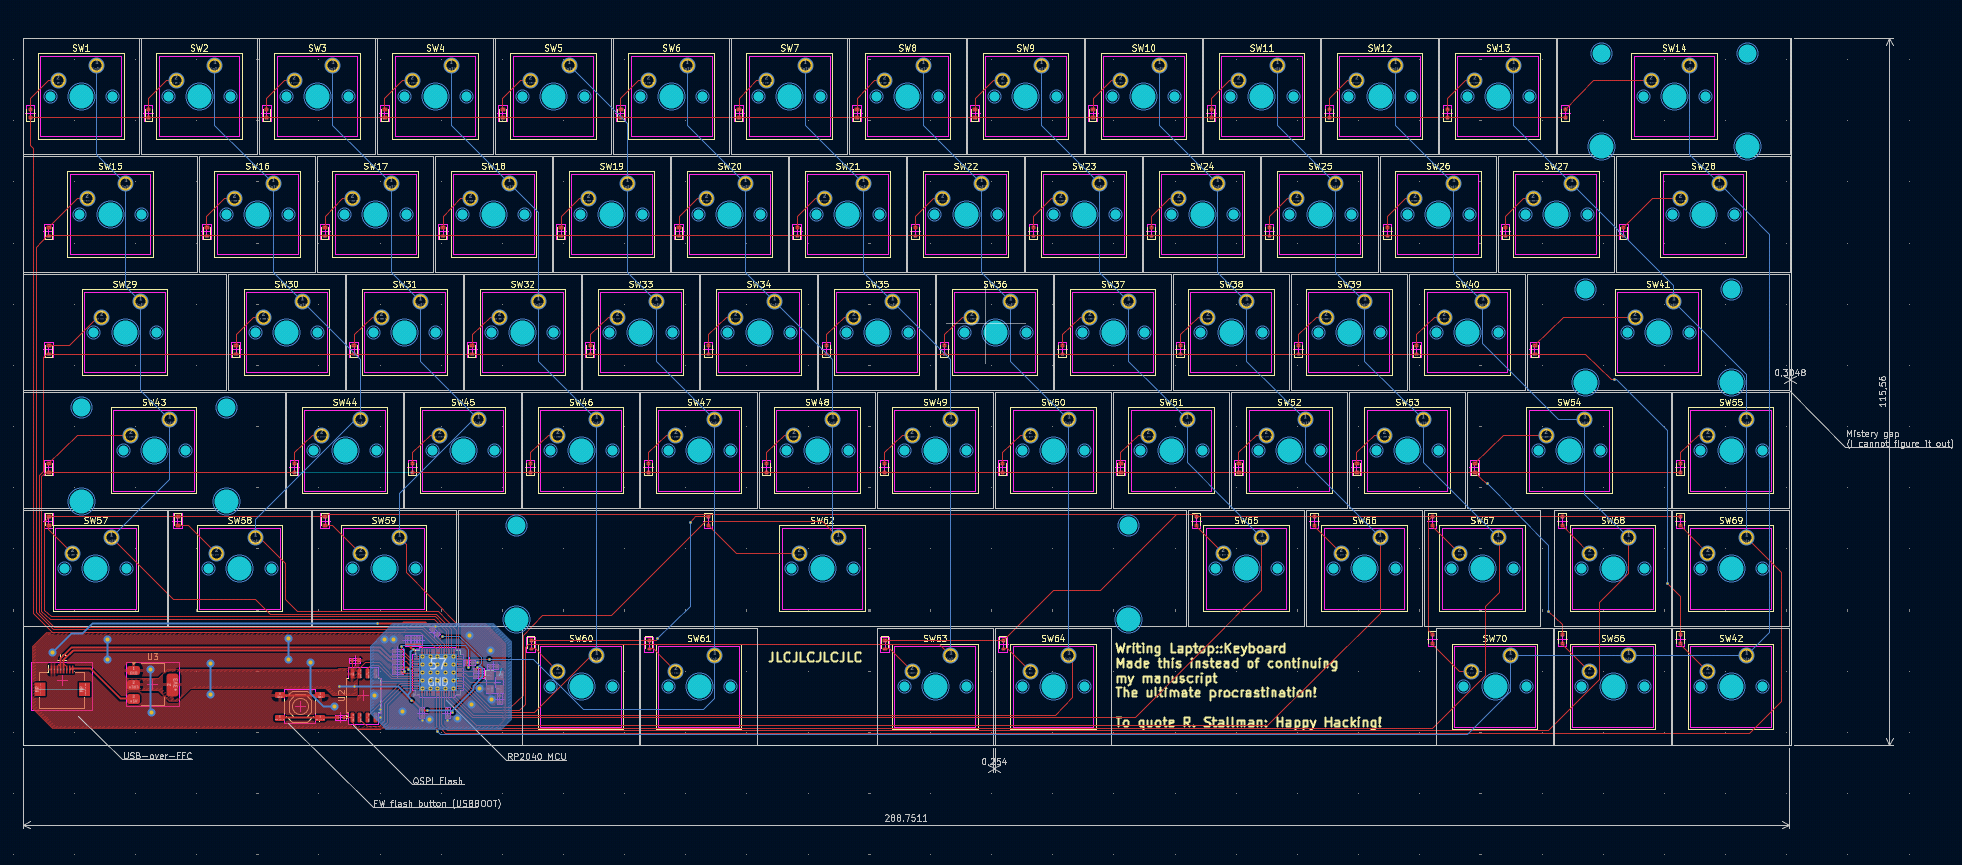
As I wrote last post, I did indeed finish designing the keyboard for my DIY Laptop. This is like the second or third keeb I designed so many things were quite easy, although the space constraints were somewhat interesting: my layout was constrained by my desire to have a standard ANSI keyboard that I could blindly switch to and from compared to my current YUNZII. But no more space than that strictly necessary was allowed. This lead to some interesting routing and a very very tiny logic circuitry area.
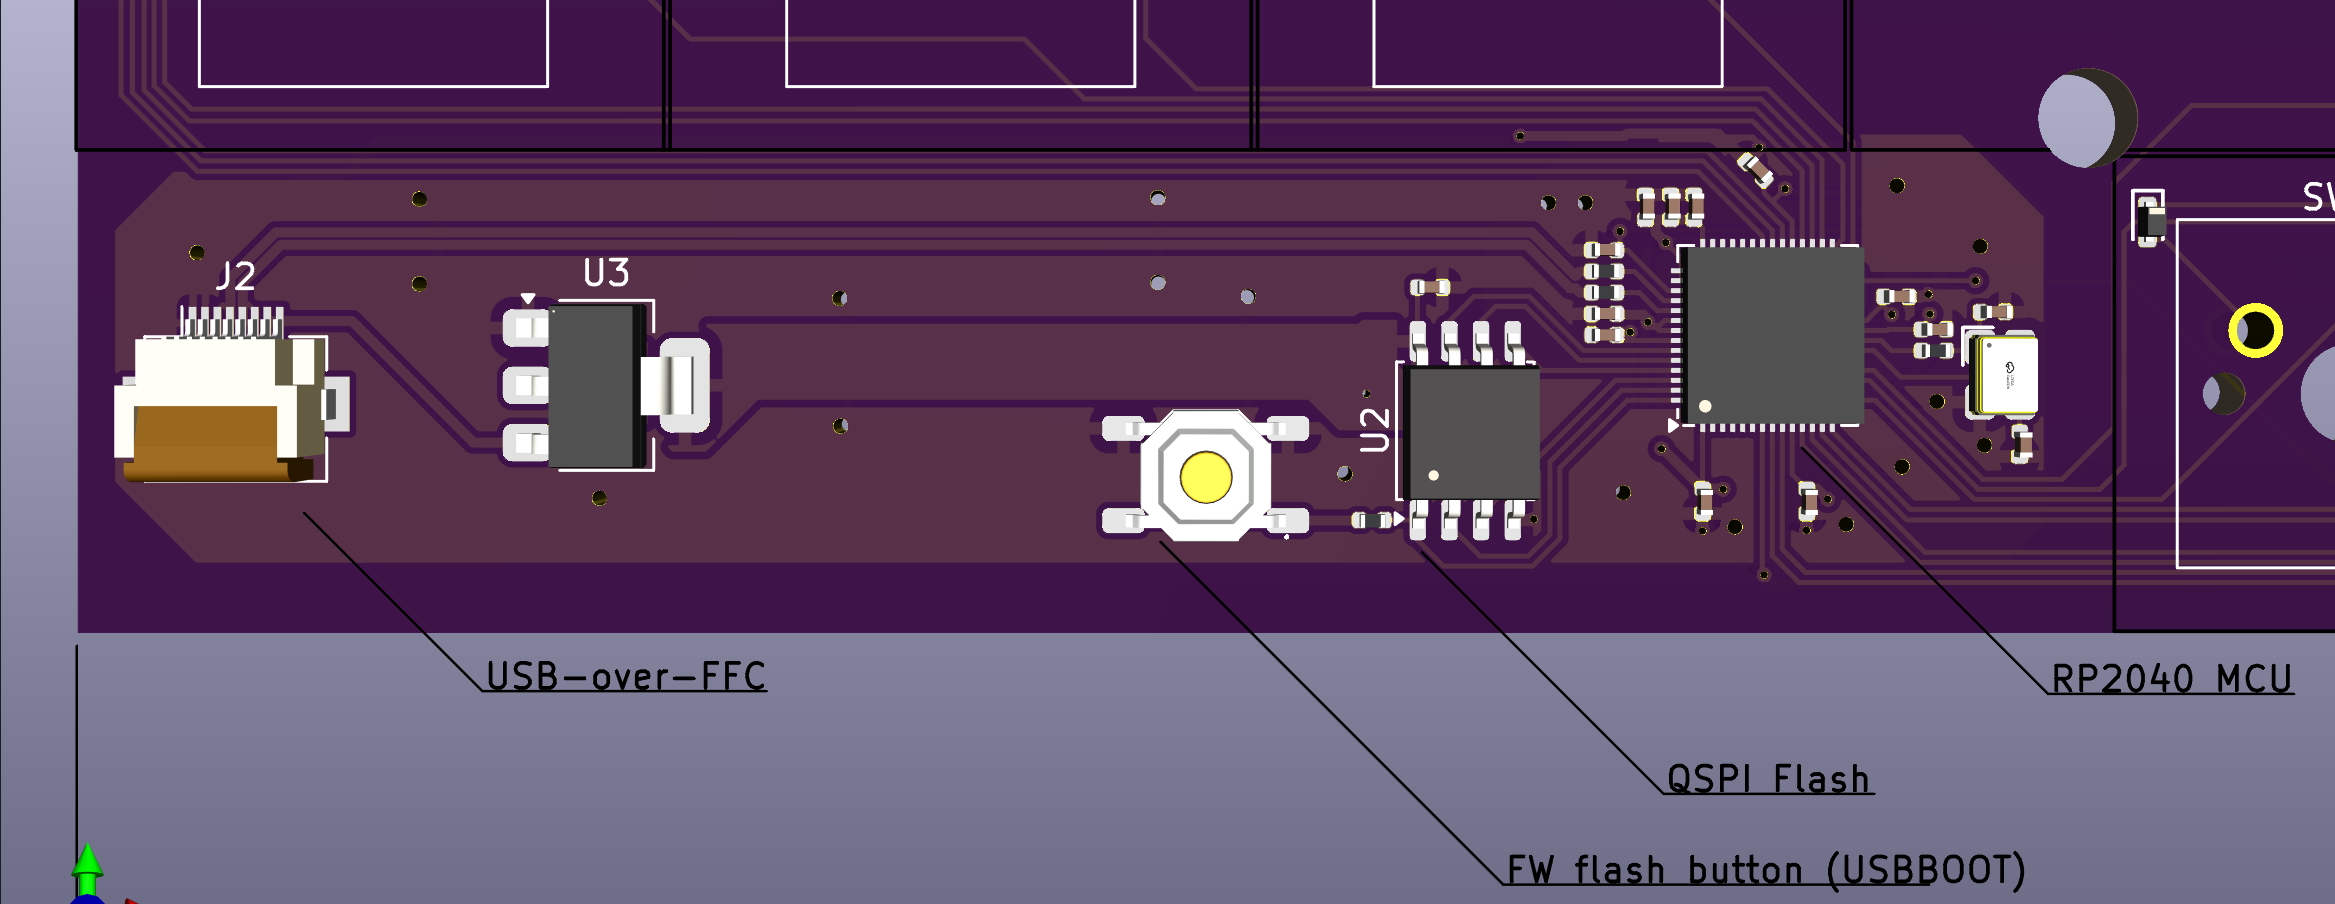
Obviously I used a RP2040 as I plan to flash QMK and not bother myself with coding a whole keyboard firmware: I'm already reinventing one wheel with laptops
One thing that is stumping me tho is the pointing device: currently there is none attached, and I was thinking of maybe just using a trackpoint (I saved a 1U slot for it) since everything that has to do with PCB touch technology tends to give me a sense of exhasperation and parasitic-capacitance paranoia, which would have not meshed well with the aforementioned size requisites
The only deviation from the standard ANSI layout is a partial extra row at the bottom comprising four (4) thumb-keys under the spacebar, aligned with C,V,N,M, and the arrow keys Left, Down, Right. I came to this solution since horizontal space was at more of a premium, and by measuring my thumbs' reach it was clear that there was an underutilized arc of space under the spacebar. I plan to use these thumb-keys for navigation tasks if I figure out a pointing device, otherwise they can be macros or whatever. The arrow keys are probs going to be a bit uncomfortable, which is good because I am particularly bad at using HJKL to navigate my editor when the arrow keys are too easily reachable. I only included them for compatibility
Have some screenshots!