
If you follow me on instagram you might have seen the stories this whole post is based upon, but let´s recap
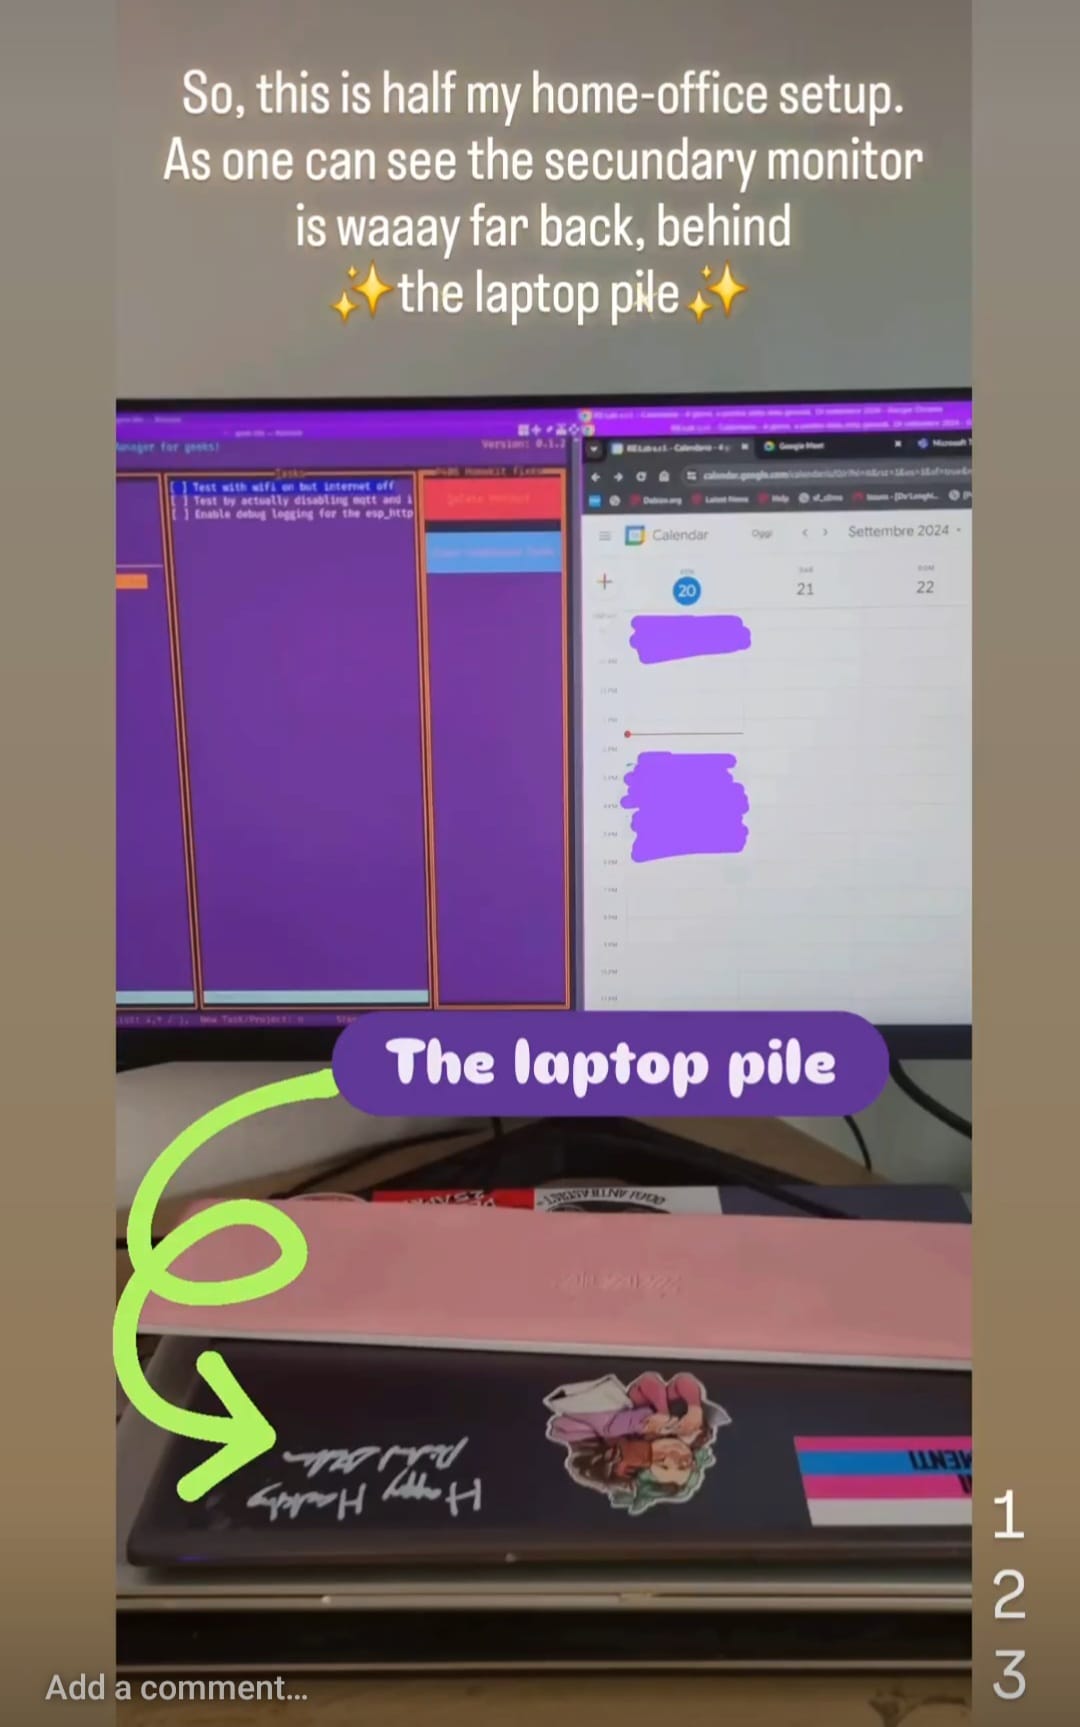
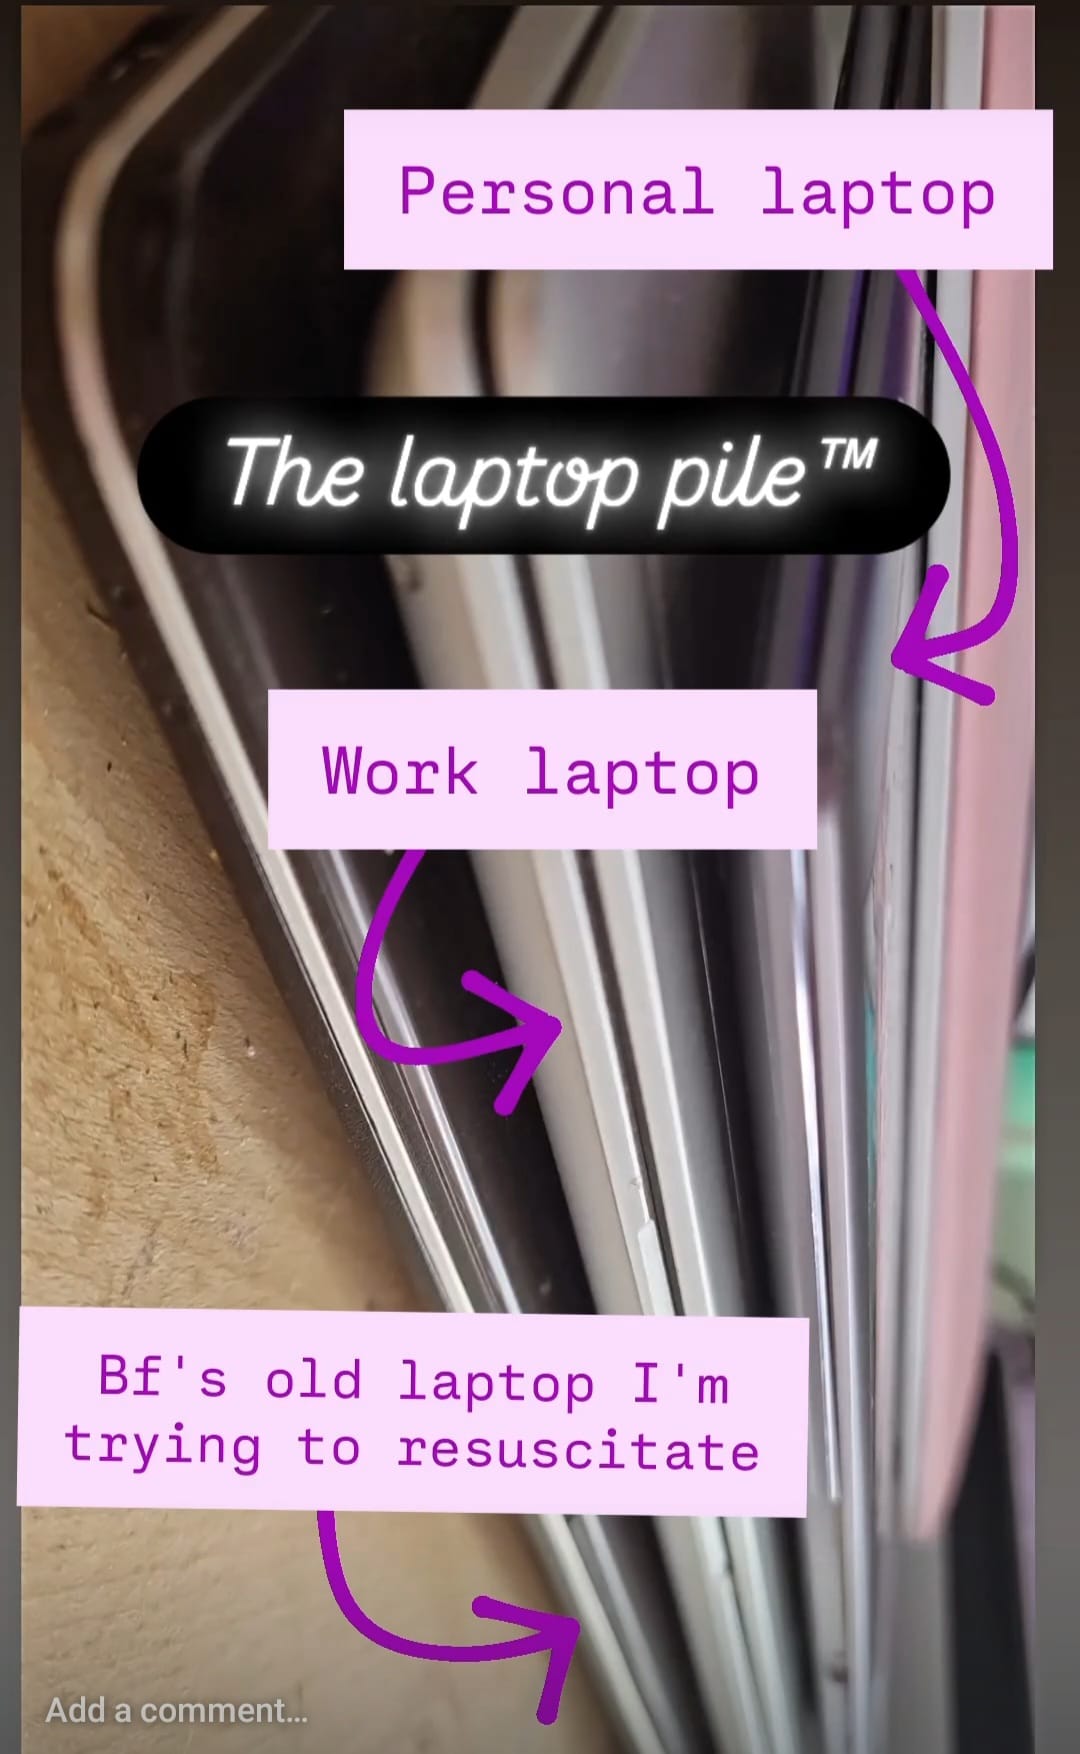
I needed a monitor stand for my desk because the secundary monitor was in a terrible position: way far to the back of the desk and covered by the ever-present laptop pile™.
I had searched far and wide (really just a couple websites but i got the gist), and no commercially available options fit my needs. Those needs were:
- Ventilation for the laptops (the laptops are on the bottom so I didnt really need holes, but I needed the stand not to be enclosed in the bottom layers)
- Big enough to fit all the laptops, one of which is unusually wide, while another is unusually deep
- Cable "management", if you know me, I don´t really cable manage but I wanted the option to pass cables on all sides. This got solved by point 1
- 2 layers, to better make use of vertical space on my desk
- Looking decent
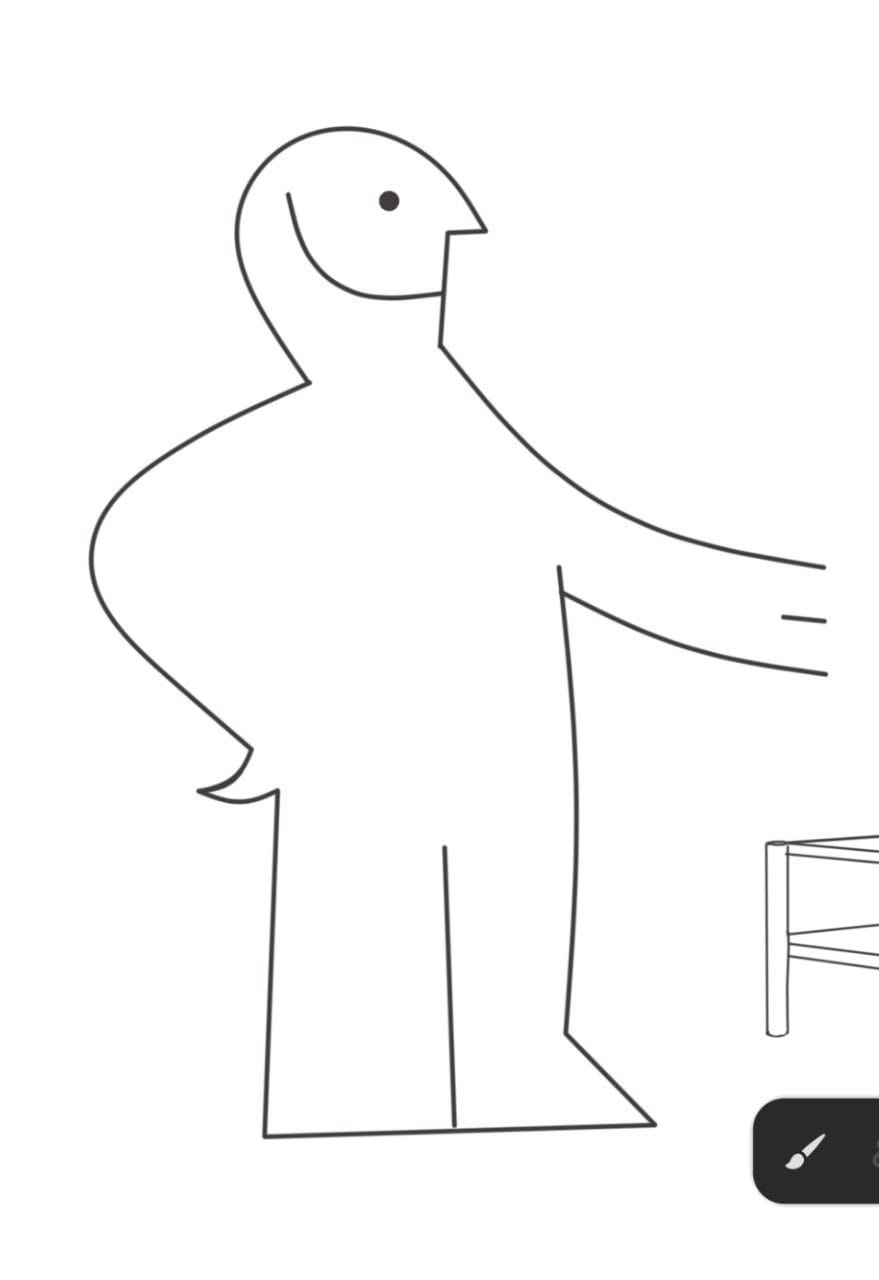
So I started designing one. Since I love to do things wrong, I started top-down with a concept art
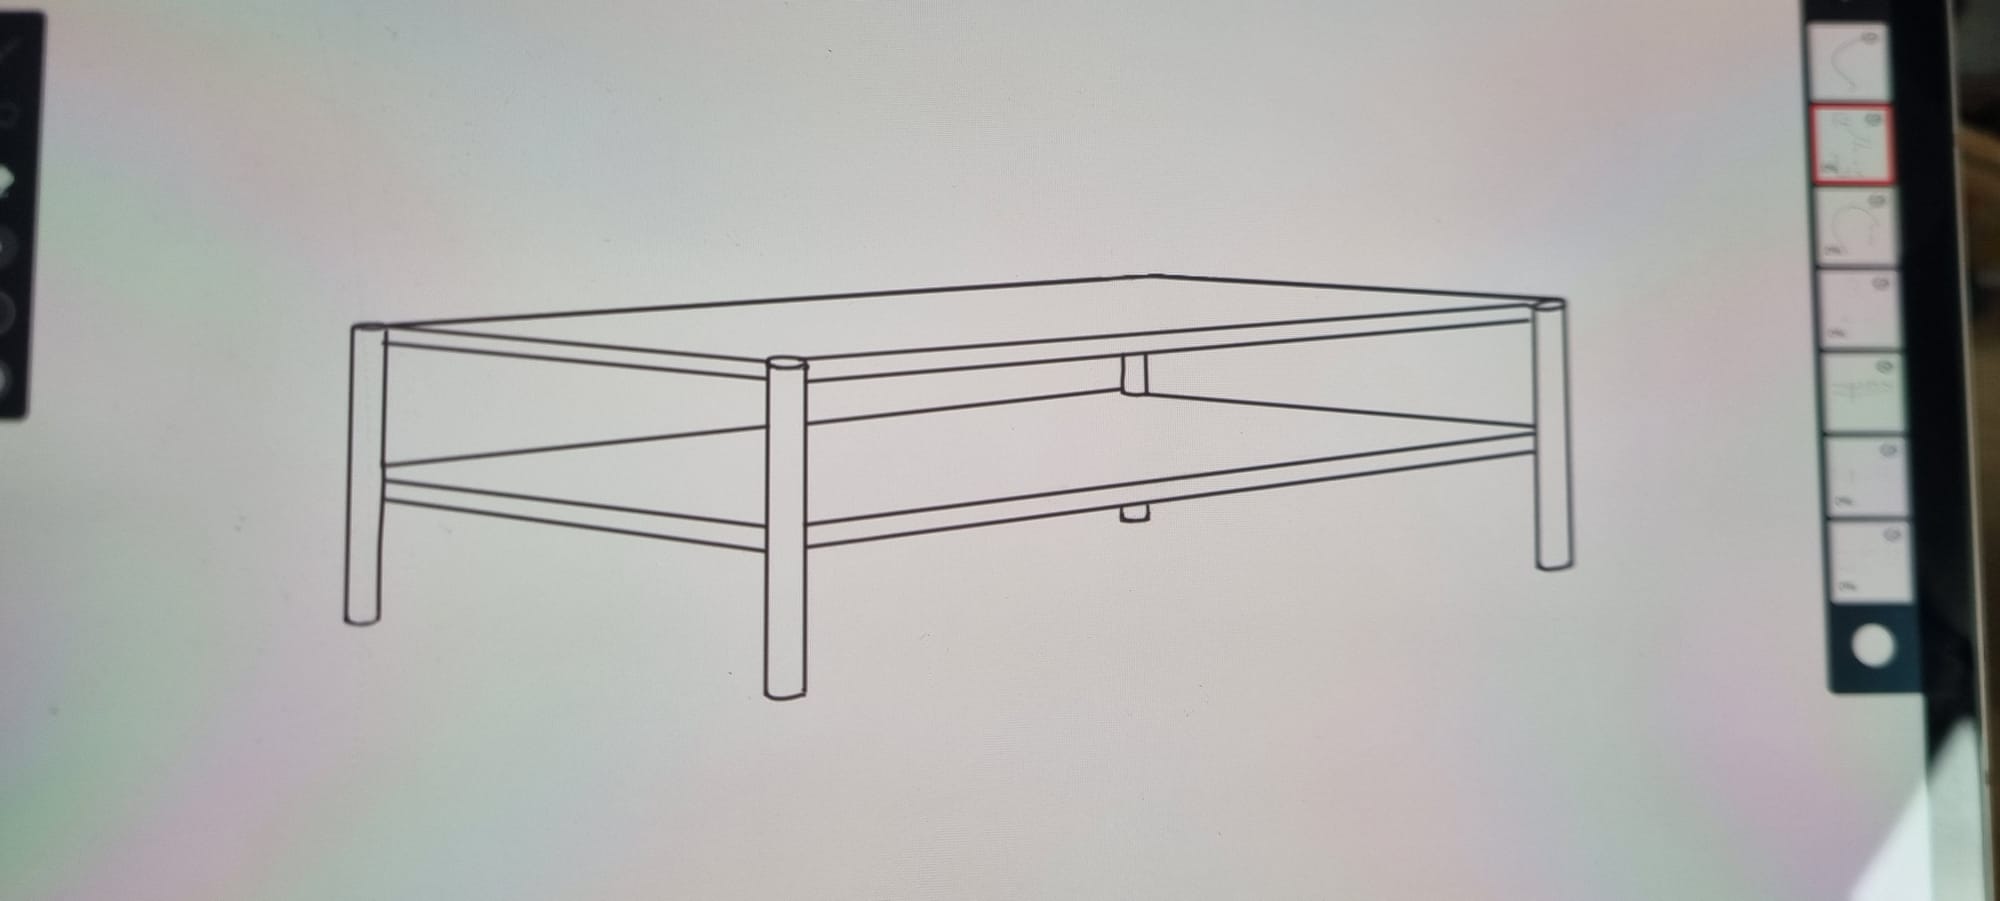
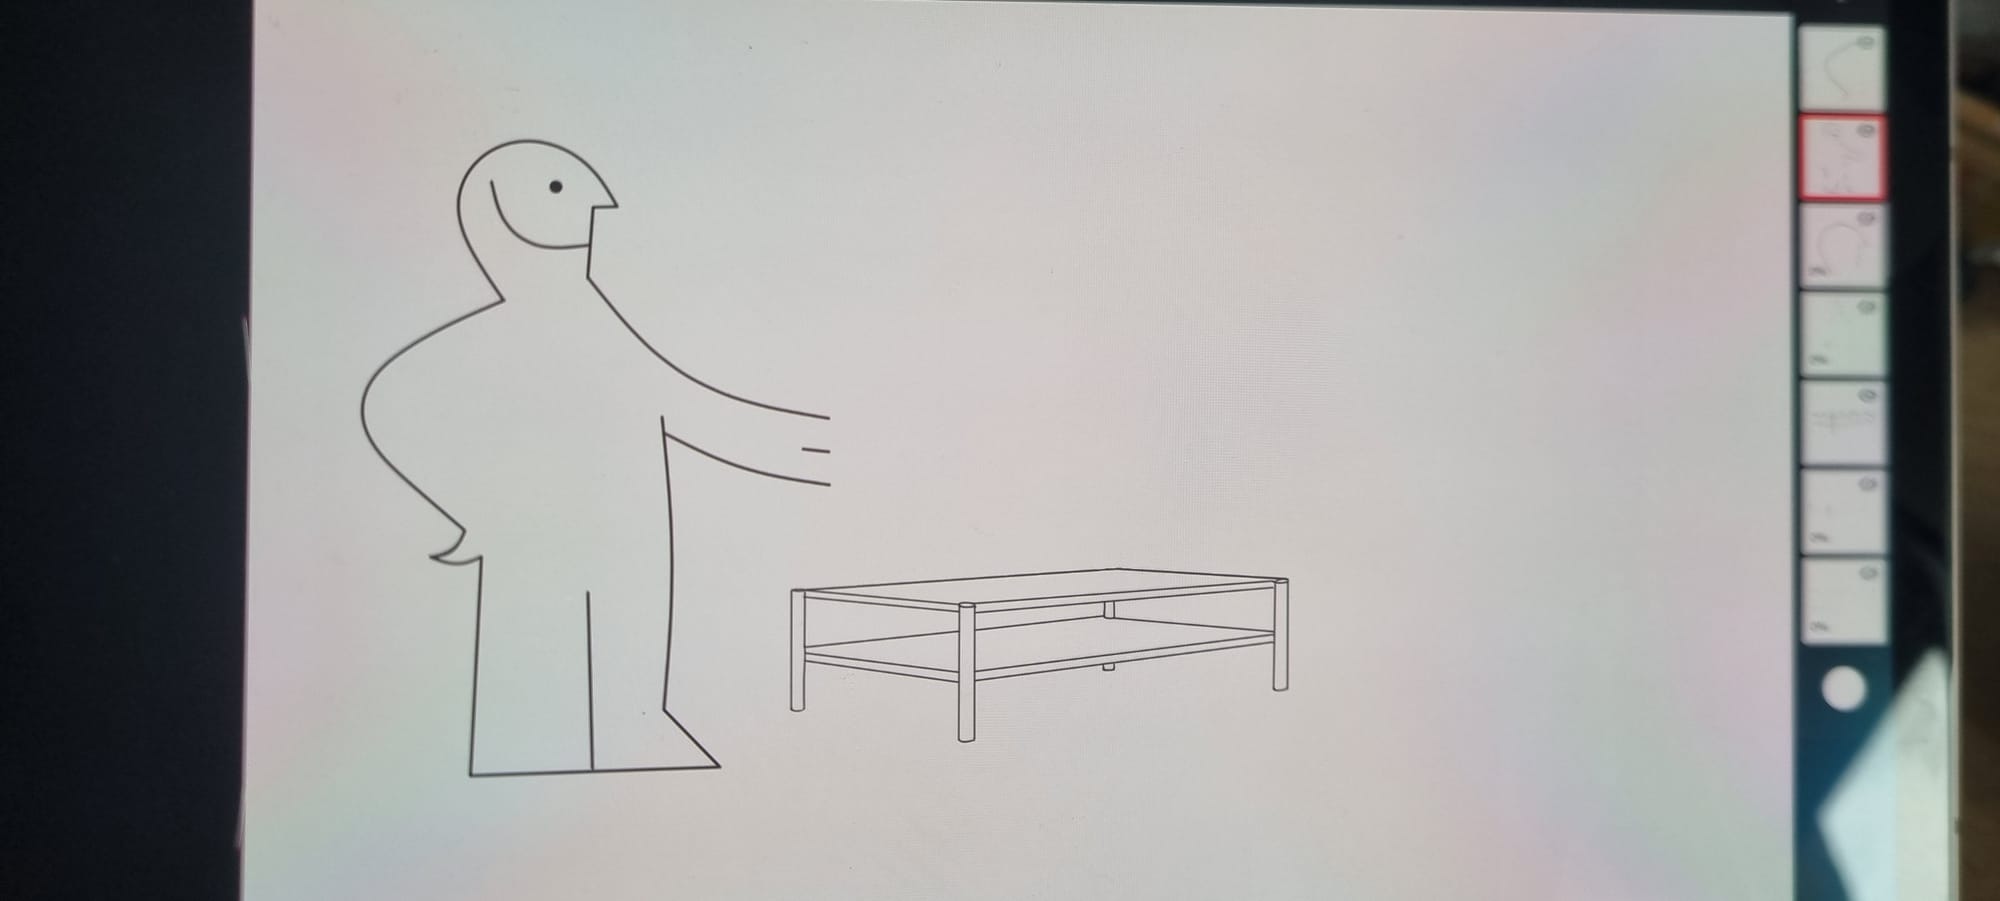
Then I got side-tracked because it looked exactly like an Ikea manual art, thus I gave it a lil friend
I love it and it´s my greatest masterpiece ever. But let´s get back on track. I got over to FreeCAD and started working on a 3d model of the design to better understand sizes and proportions (and because I really didn´t want to do an orthogonal projection by hand. Those things are hard and I did enough of them in school). This is the model I settled on. It featured a narrower slot on the top and round legs.
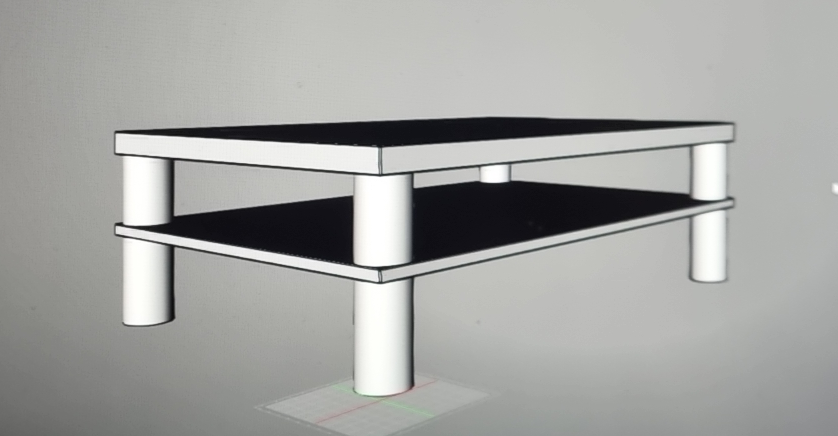
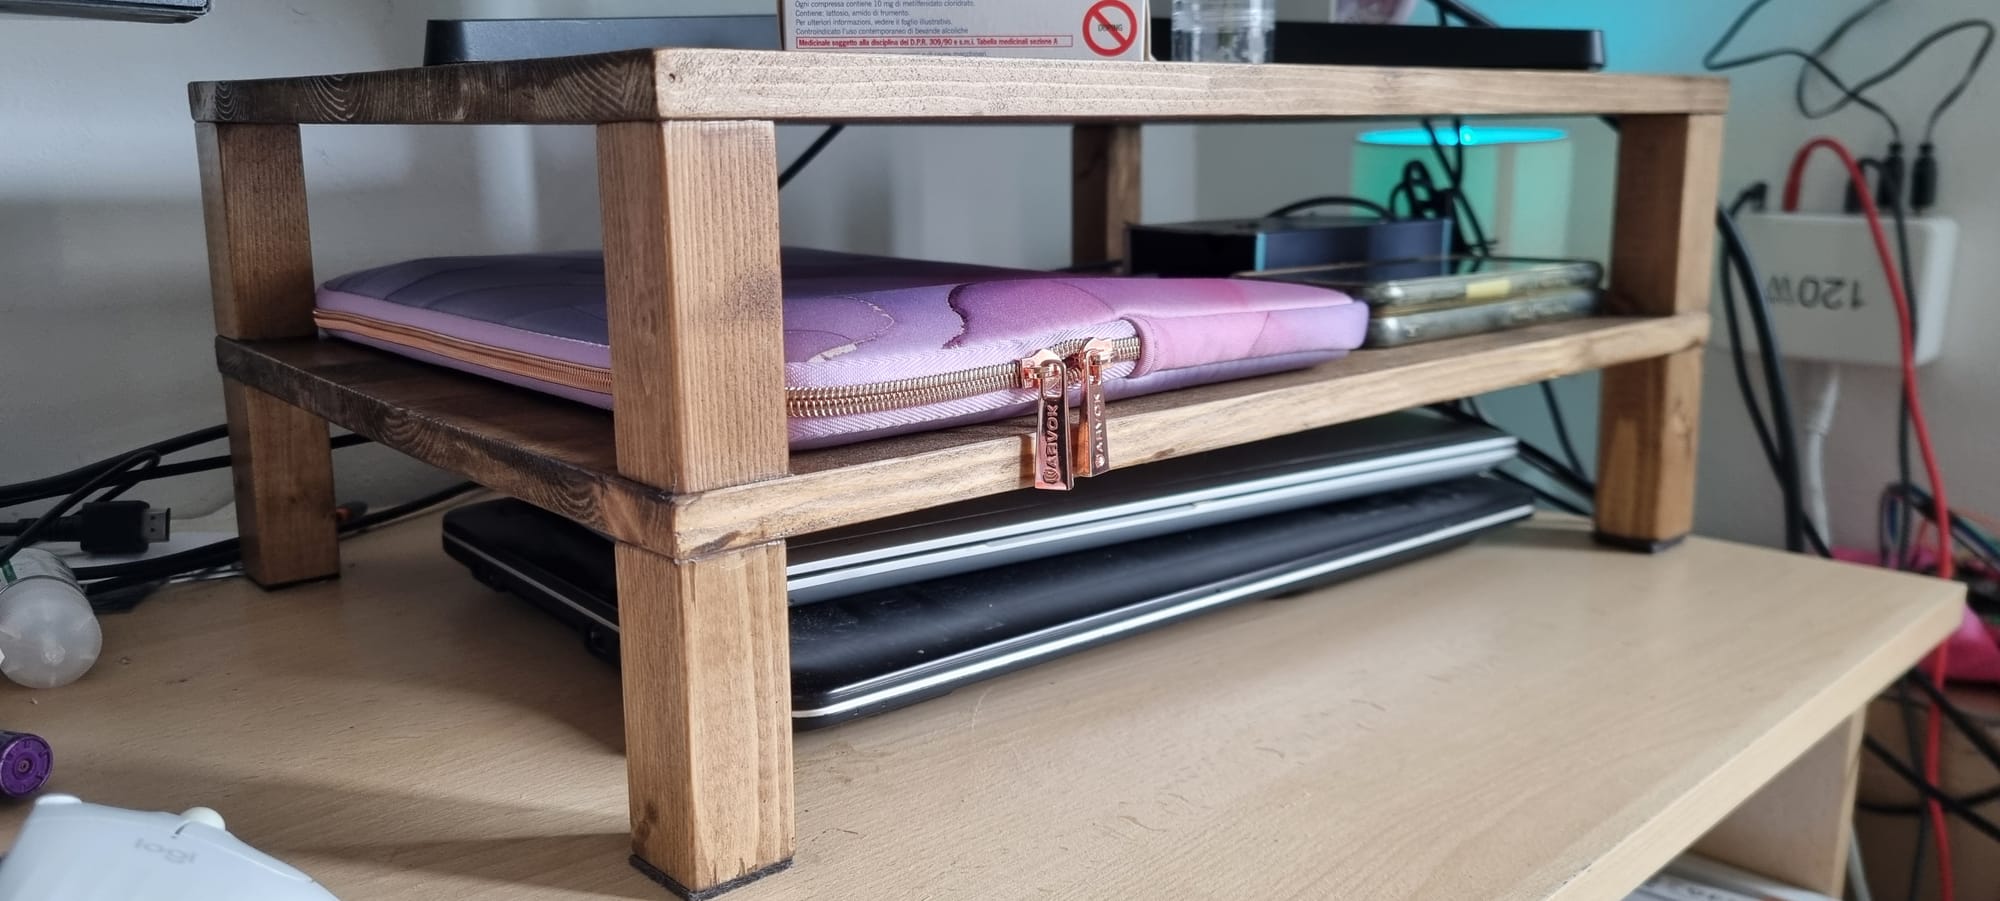
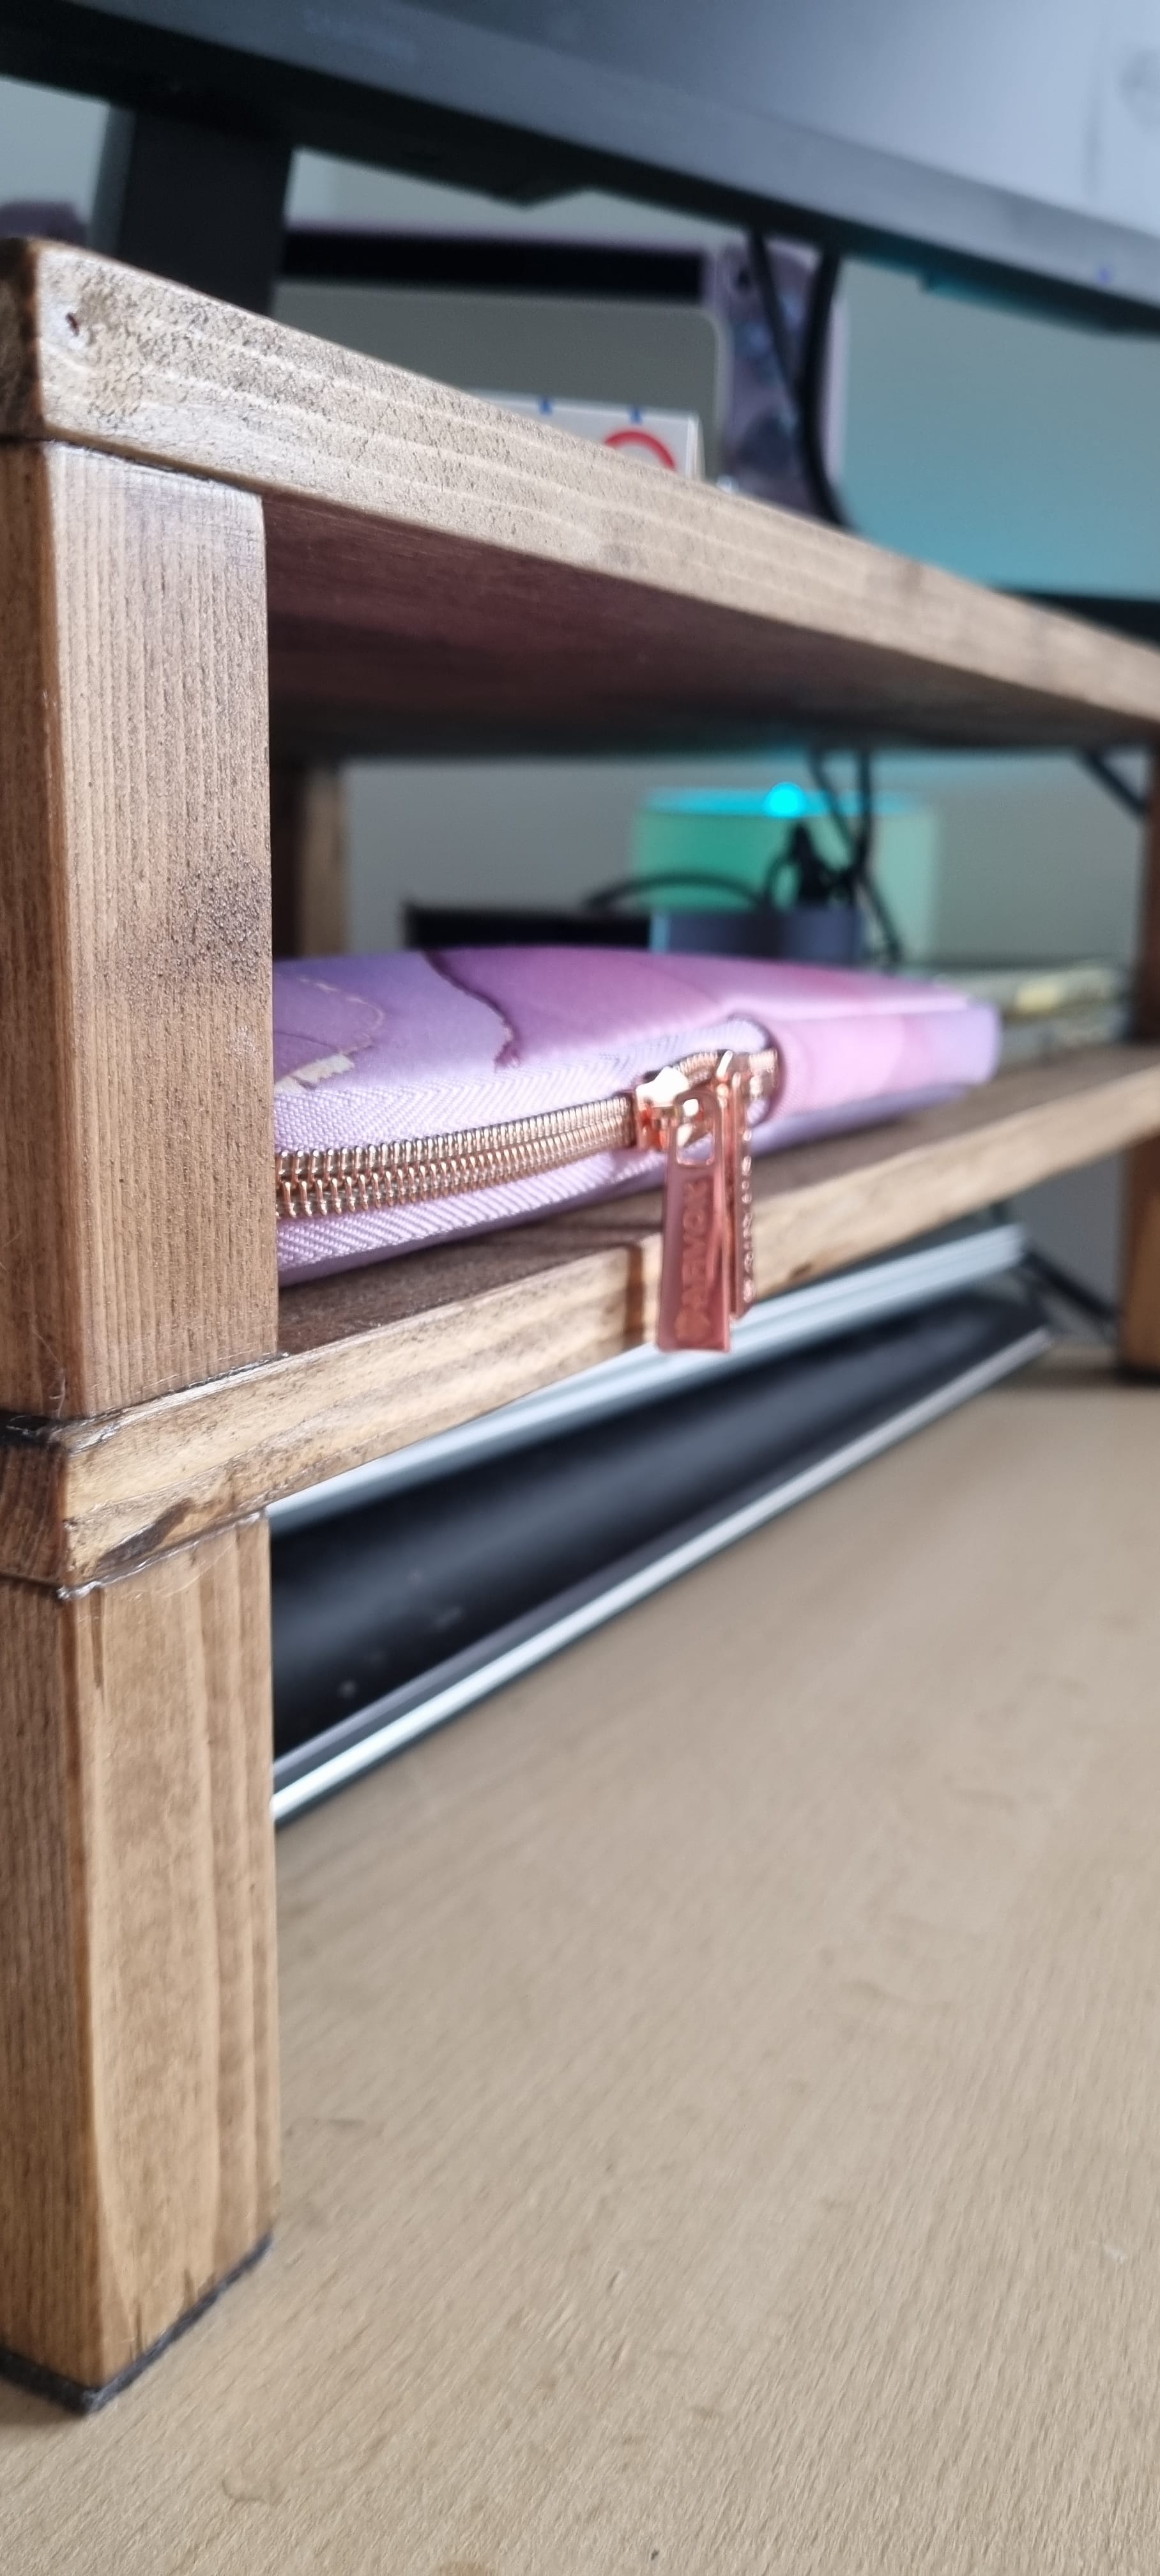
Then I had to redesign it since the place near my home didn´t carry thick enough round dowels. But I really like the look with the square ones. I also had to forgo the narrower slot and make them identical: the wood-cutting service I used couldn´t do parts smaller than 7.5cm (the length of the bottom legs). I went with 7.5cm on both the bottom and middle legs. This led to the stand being a smidge too tall but I can live with it. To save some money I also had both surfaces cut from the same panel, and thus they were the same height. I also like this detail more than I did the original design.
I then had to sand down most surfaces and stain them. I chose a water based dark stain, which complements my light desk nicely while tying the room together since it is coordinated with the faux-wood floors.
Anyway, after a small debacle where I somehow LOST A BOTTLE OF GLUE (don´t ask, I have no idea) and had to replace it, the finished product is ready (finished-ish, as of the time of writing the glue still needs to set for 22h, but I already put it to work since all the forces are orthogonal to the glue plane, effectively clamping it down)
As always all the resources are fully Open Sourced, this time we´re dealing with hardware tho, so the license that I´m releasing them under, for the first time, is CERN OHL-S v2 I´m not totally sure attribution is required here, but as always it is very very appreciated `:3`